|
POSTED BY: Stefanie Brodeur 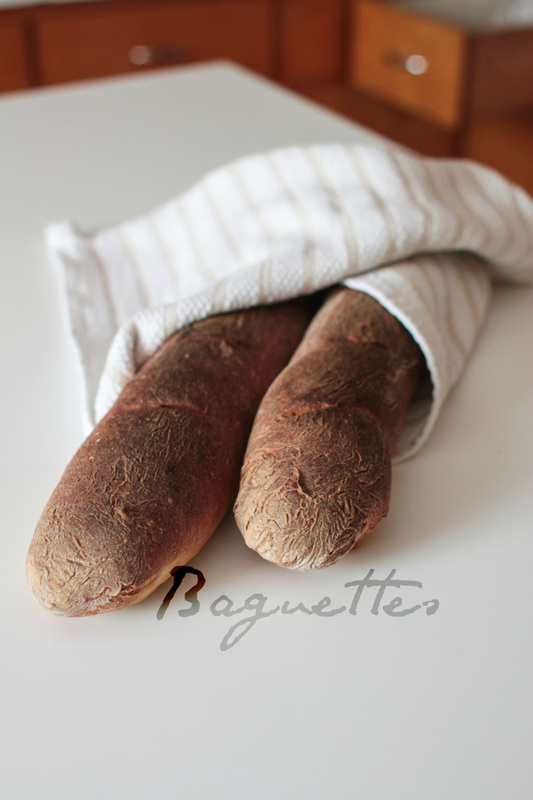
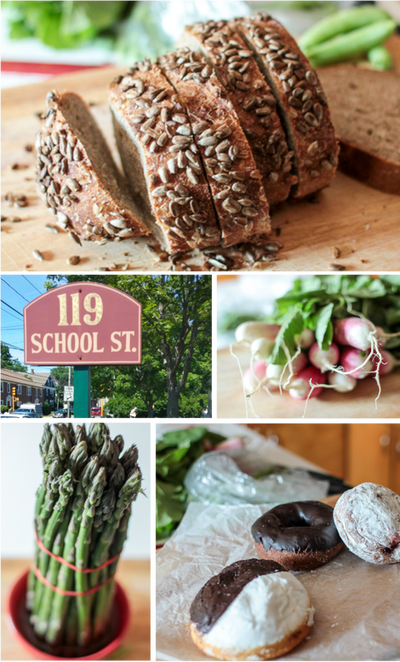
For those of you who live outside of New England, it was a bit blizzard-y here earlier this week. Most towns got between 18 and 30 inches of snow. Luckily, it was the light/dusty kind, not the wet/heavy kind, and although its not ideal for snowman making, it was a lot easier to shovel. Its not often that I find myself home for the entire day, even on the weekends, so I thought I should take advantage of it, and cross off another item on my 15 Recipes for 2015 list - baguettes! p.s. I have written the word "baguettes" so many times during this project, that it doesn't look like a real word to me anymore. Check out the full recipe at Food52, and continue reading for some tip & tricks that I learned! 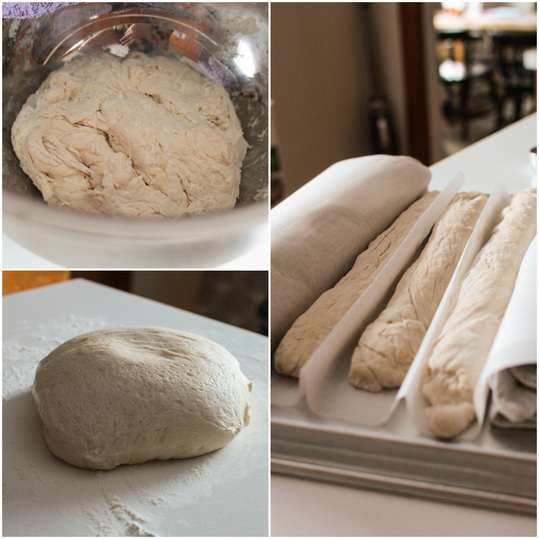
4-Hour Baguettes...maybe The good news, there's only about 20 minutes of hands-on time during this recipe. The rest of the time is waiting for the dough to rise, and rise again, and rise again, and bake. The recipe I used should clock in at 4 hours, but in my kitchen, which is a cool 60-64 during the day, it took the dough another 2 hours to rise. What does this mean for you? Don't make this bread if dinner is in 4 hours and you don't have any wiggle room. Make this on a day when you have lots of time. You can always make it a day ahead, although it starts to loose its freshness after that unless you freeze 'em. 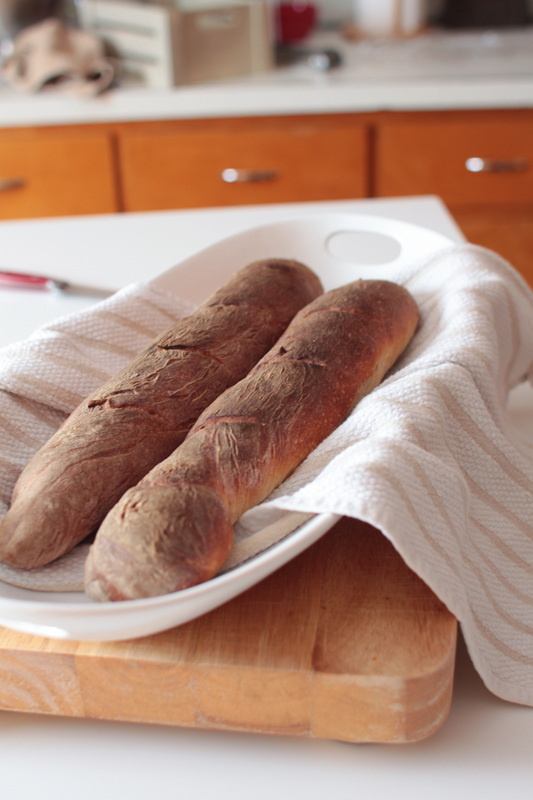
You might have noticed that the dough picture has 3 loaves, and yet, there are only two finished ones in these pictures. That's because we (mostly me) ate one of the baguettes, one perfect slice at a time, as soon as it was cooled. Cut Deep You need to make 4 cuts along the top of the dough before putting them in the oven. I was a little bit too timid when I ran my knife across them, afraid that I would lob off a piece or something. But I definitely should have cut deeper. At Food52, you can see how nice the tops look, although the taste of the crust turned out just fine. Don't Skip the Ice Speaking of crusts, the recipe calls for you to add ice cubes to a cast iron pan below the bread pan during the baking time. This creates a steam that helps the dough finish rising as it bakes and forms the signature crust. Leave the oven shut - no peeking! I used a small rimmed quarter baking sheet instead of a cast iron pan. The crust came out so crispy, and the inside is soft and slightly chewy - perfect. 20 minutes The recipe says that it takes 20-30 minutes for the loaves to bake. Just to be safe. I set my timer for 20min, and these loaves were DONE when I took them out. Although you shouldn't open the oven to peek at the bread during baking because that would let the steam out, don't be afraid to check it at that 20 minute point - even another 5 minutes would have made completely blackened loaves. 
This was a fun little project on a snowy day. This spring, I am going to make another batch, and turn them into fancy picnic sandwiches. Each baguette is long enough to make 2 good sized sandwiches, so Rob and I will have to invite some friends to join us! Do you have any favorite bread recipes? Share them in the comments below! 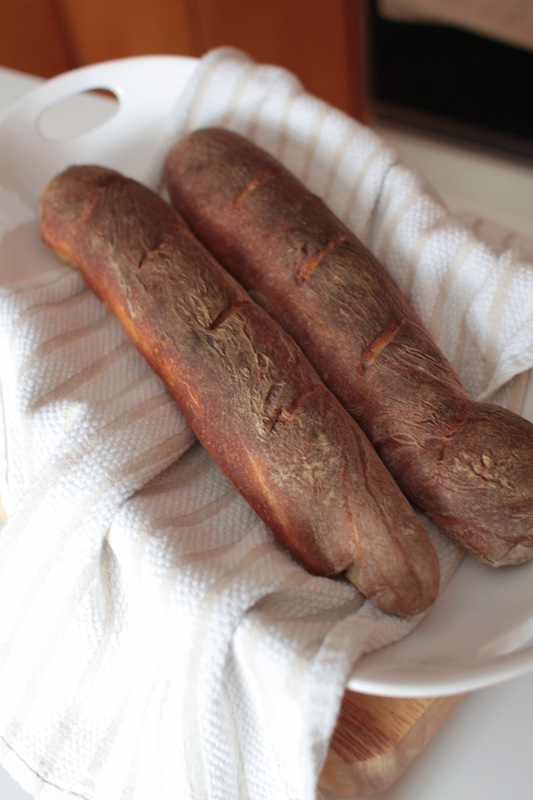
Check out the full recipe at Food52
1 Comment
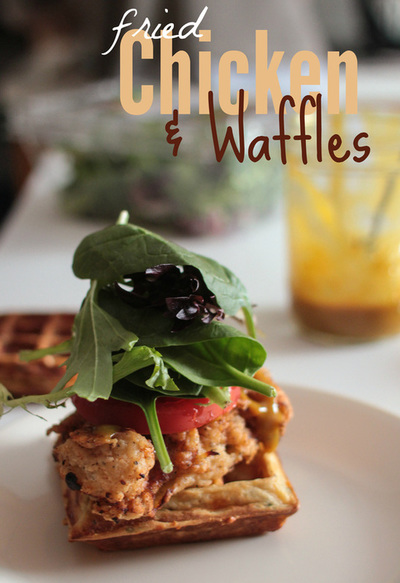
POSTED BY: Stefanie Brodeur 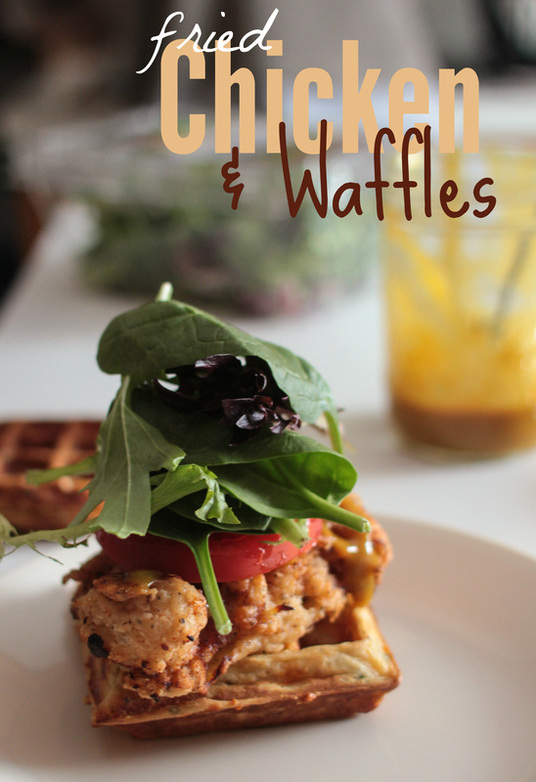 Wooooo! I am so pumped about this recipe, it's insane. Buttermilk waffles with bacon, green onions, and cheddar IN THE BATTER?! Buttermilk fried chicken! TOGETHER IN A SANDWICH?!??! First of all, buttermilk fried chicken...WHY DIDN'T ANYONE TELL ME? I've heard about it, but no one was like, Stefanie, seriously, buttermilk. Of course, I am also excited because I get to check this recipe off my list of 15 Recipes of 2015. Find the full step-by-step recipe at The Candid Appetite. Check out the rest of the post below for some tips on how to get the most out of this recipe! 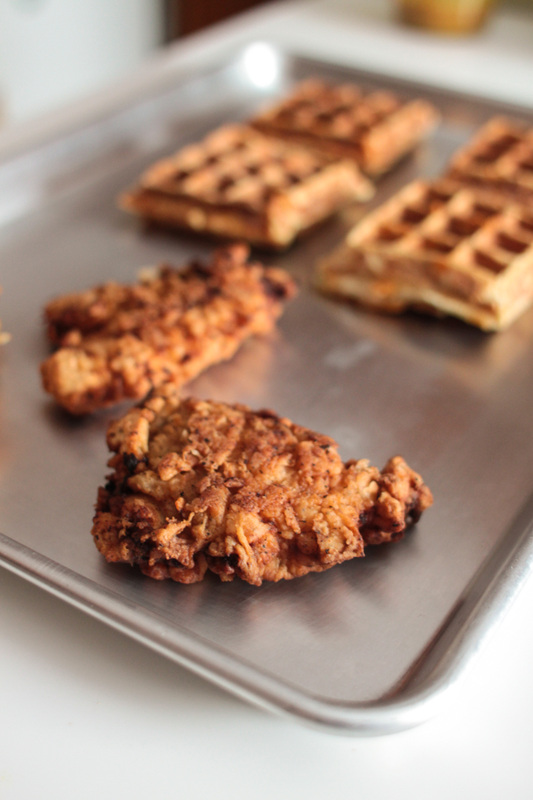 Make it ahead. I made a full batch of waffles (16 total waffles using the recipe and my waffle iron) several days in advance. But you could make them weeks in advance. Because you're going to freeze them.
I did not make the chicken ahead of time, but I will absolutely be doing that in the future. We serve these sandwiches for dinner at Game Night, and it took a while for these pieces of chicken to cook, event though they are thin. I put the leftovers in a plastic Tupperware in the fridge overnight, and reheated them on a baking sheet in the oven at 400 degrees the next day. They were amazing. So, next time I plan to have these, especially if people are coming over, I will fry the chicken a day or two in advance, and store them in the fridge, or wrap them in the freezer. Double-dip the chicken The recipe suggests it, and you should do it. That means buttermilk - flour - buttermilk - flour. Created a crispy batter that fried perfectly. 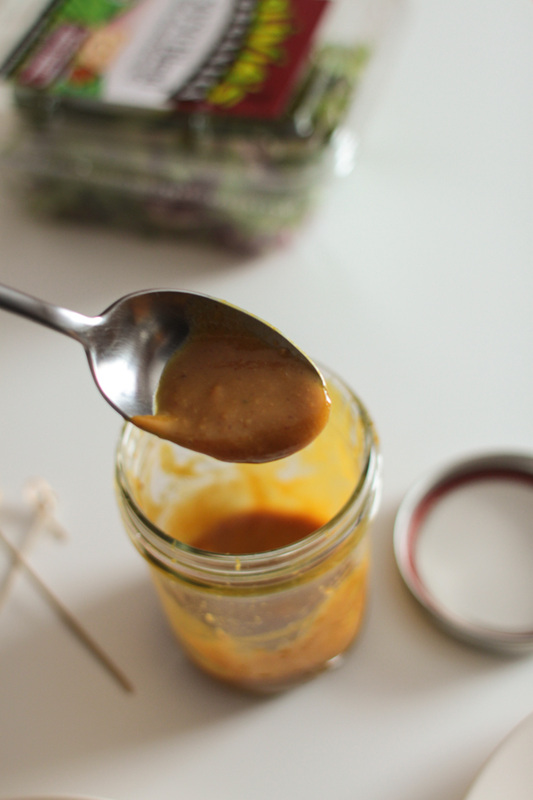 Maple-Mustard Sauce I was going to skip the sauce, because I wanted to stick with savory, and didn't think the sweetness of the maple syrup would be right. But then we made it, and it literally makes the sandwich. Even though every component is complex with lots of flavor, this sauce is what really took it to the next level. NOTE: the recipe calls for REAL maple syrup, because the fake stuff is TOO sweet. But I only had the fake stuff, so just go heavy on the mustards, and use the syrup sparingly, and you will get a really great sauce for the sandwich. 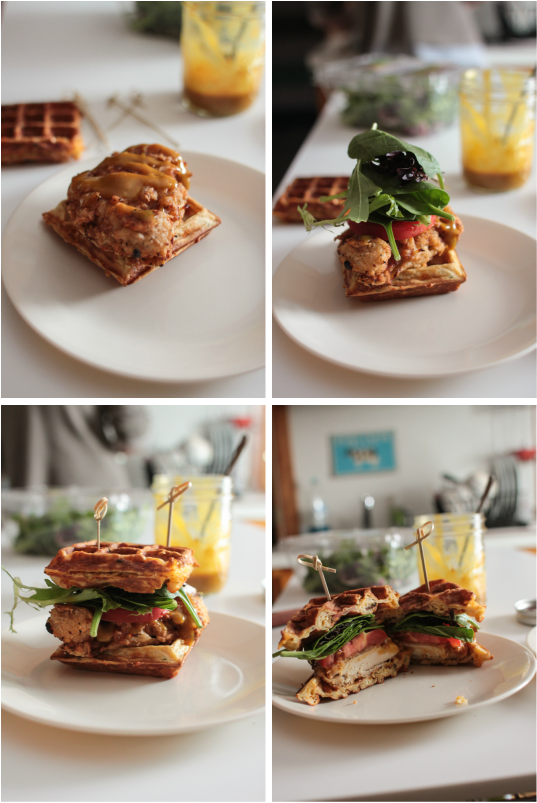 Veggies. Throw a slice of tomato and your choice of greens on there. It helps lighten it up. Texture-wise, the tomato also added a nice amount of moisture. Assembly - Supports needed If you are doing an open-face sandwich, disregard. If you are doing a classic waffle-filling-waffle sandwich, you will need some sort of support to help you assemble. Regular toothpicks won't cut it - they aren't long enough. Sandwich sticks (like in the picture above) help to hold everything together. In the original recipe at The Candid Appetite, the pictures show that they used a chop stick, broken in half. Be resourceful, because these are worth it. 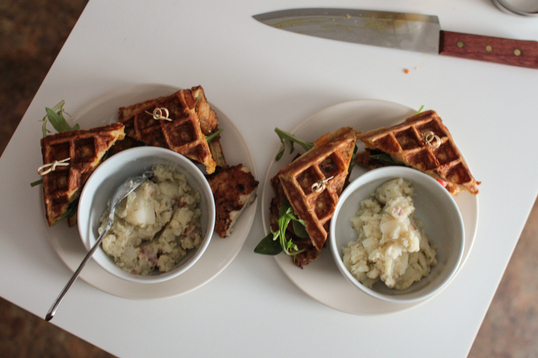 If you make them some day during this long, cold winter, let me know how it goes!
Find the full step-by-step recipe at The Candid Appetite. Enjoy! -Stefanie POSTED BY - Stefanie Brodeur I tried more new recipes in 2014 than I ever have before. We made a huge dent in our 14 Recipes for 2014 list that I posted last January - check out some pictures below. 
Clockwise from top: Homemade sandwich bread | Chicken Croquettes |Italian Skewers | Raspberry Scones | Cauliflower Quesadillas | Cheddar Olives
Some trends on my 2015 list include baking and frying - thanks to our wedding shower, and generous friends and family, we now have the tools to bake and fry things without burning down our house or making a gigantic mess. I also have a LOT of Pioneer Woman recipes. That's just because I love her and everything I've made from her is delicious. AND we're basically like, best friends, since I met her that one time at the book signing. This list is in no particular order, but I will try and do a post with the recipe and pictures as I make them this year. If you have a recipe you'd like to share, post the link / recipe in the comment section below! Happy cooking everyone! 01. HONEYMOON FOODS - Rye Bread | Baguette | Macarons
02. HONEY WALNUT SHRIMP - Damn Delicious 03. TRE LECHES CAKE - Pioneer Woman 04. PISTACHIO CAKE - Eats Well With Others 05. BAGELS 06. SAUSAGE-ASPARAGUS QUICHE - Real Food by Dad 07. RHODE ISLAND PIZZA STRIPS 08. CHEESE - Mozzarella & Ricotta 09. FRIED ONION DIP - New Midwestern Table 10. SKEWERS OF GLORY - Pioneer Woman 11. BISCUITS & GRAVY - Pioneer Woman 12. CHICKEN & WAFFLES - The Candid Appetite 13. HOMEMADE PICKLES 14. LASAGNA WITH HOMEMADE NOODLES - Flourish 15. APPLE SAUCE - Pioneer Woman |


|