|
POSTED BY: Stefanie Brodeur 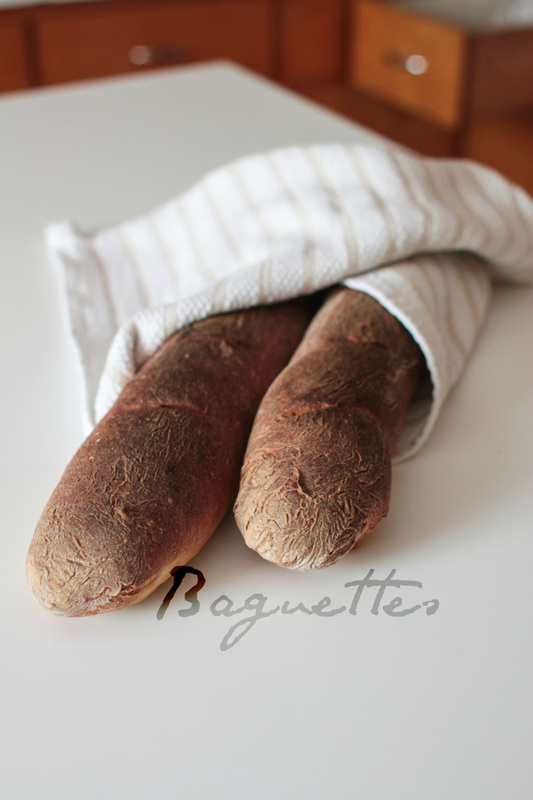
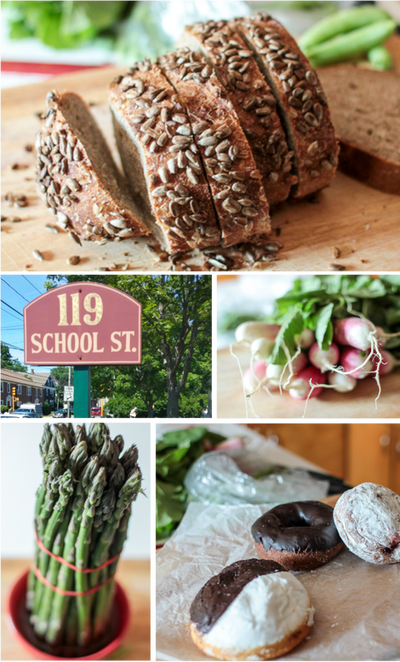
For those of you who live outside of New England, it was a bit blizzard-y here earlier this week. Most towns got between 18 and 30 inches of snow. Luckily, it was the light/dusty kind, not the wet/heavy kind, and although its not ideal for snowman making, it was a lot easier to shovel. Its not often that I find myself home for the entire day, even on the weekends, so I thought I should take advantage of it, and cross off another item on my 15 Recipes for 2015 list - baguettes! p.s. I have written the word "baguettes" so many times during this project, that it doesn't look like a real word to me anymore. Check out the full recipe at Food52, and continue reading for some tip & tricks that I learned! 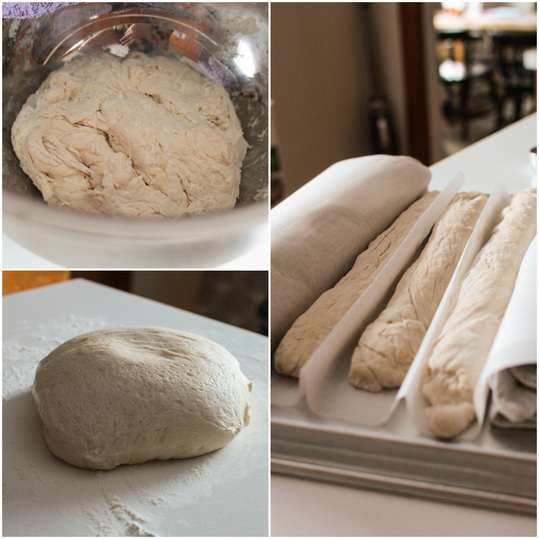
4-Hour Baguettes...maybe The good news, there's only about 20 minutes of hands-on time during this recipe. The rest of the time is waiting for the dough to rise, and rise again, and rise again, and bake. The recipe I used should clock in at 4 hours, but in my kitchen, which is a cool 60-64 during the day, it took the dough another 2 hours to rise. What does this mean for you? Don't make this bread if dinner is in 4 hours and you don't have any wiggle room. Make this on a day when you have lots of time. You can always make it a day ahead, although it starts to loose its freshness after that unless you freeze 'em. 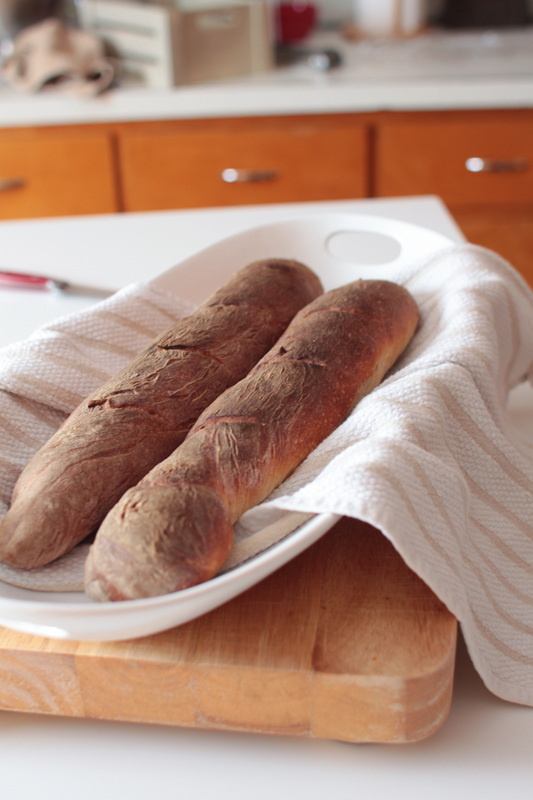
You might have noticed that the dough picture has 3 loaves, and yet, there are only two finished ones in these pictures. That's because we (mostly me) ate one of the baguettes, one perfect slice at a time, as soon as it was cooled. Cut Deep You need to make 4 cuts along the top of the dough before putting them in the oven. I was a little bit too timid when I ran my knife across them, afraid that I would lob off a piece or something. But I definitely should have cut deeper. At Food52, you can see how nice the tops look, although the taste of the crust turned out just fine. Don't Skip the Ice Speaking of crusts, the recipe calls for you to add ice cubes to a cast iron pan below the bread pan during the baking time. This creates a steam that helps the dough finish rising as it bakes and forms the signature crust. Leave the oven shut - no peeking! I used a small rimmed quarter baking sheet instead of a cast iron pan. The crust came out so crispy, and the inside is soft and slightly chewy - perfect. 20 minutes The recipe says that it takes 20-30 minutes for the loaves to bake. Just to be safe. I set my timer for 20min, and these loaves were DONE when I took them out. Although you shouldn't open the oven to peek at the bread during baking because that would let the steam out, don't be afraid to check it at that 20 minute point - even another 5 minutes would have made completely blackened loaves. 
This was a fun little project on a snowy day. This spring, I am going to make another batch, and turn them into fancy picnic sandwiches. Each baguette is long enough to make 2 good sized sandwiches, so Rob and I will have to invite some friends to join us! Do you have any favorite bread recipes? Share them in the comments below! 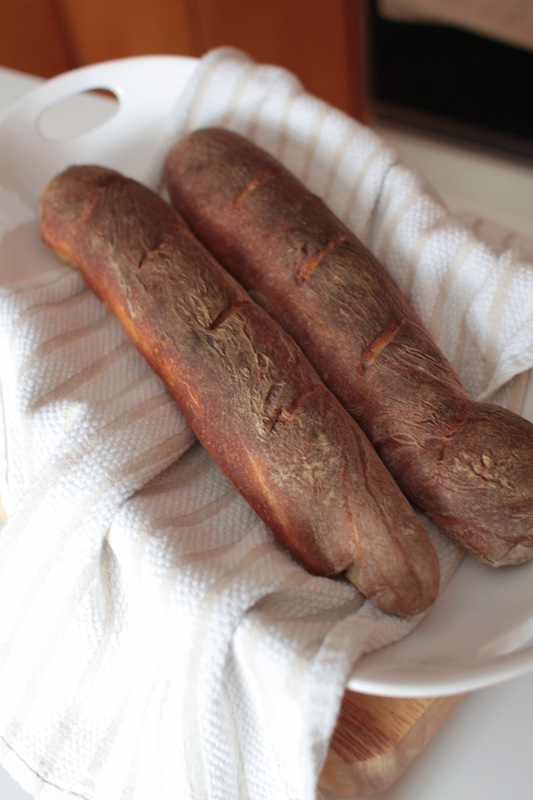
Check out the full recipe at Food52
1 Comment
Mary
1/30/2015 01:59:47 am
Awesome job! So Parisienne! Your comment will be posted after it is approved.
Leave a Reply. |


|