|
POSTED BY: Stefanie LaSalle The addition of some shelving (thanks mom!) and a couple of inexpensive fluorescent grow lights (thanks amazon!) gave my plants a healthier head start than the ones I grew last year, and you can already see the difference. My 2013 garden taught me a lot, and I did quite a bit of research over the (long, cold, dark) winter . The two biggest changes I made were my watering system and my choice of plant varieties. 
Here are my two self-watering containers that I made. The design comes from the book, The Vegetable Gardner's Container Bible, but you can find all sorts of plans for making self-watering containers online. All of these plants were started from seed, indoors, under grow lights. Since being transplanted outside in these containers, they've gotten so BIG! Last year, I had trouble supplying enough water to the containers. We do not have a hose or faucet outside, so I had to fill containers and drag them outside to water everything each morning. It was a lot of work, and even with all that, they still tended to dry out, which stunted the plants growth. These containers have a reservoir in the bottom that I fill with a few gallons of water each, and the plants suck it up as they need it. That, coupled with a few convenient rain showers, has kept these guys nice and hydrated. Next year I think I will make two more of these and replace some of the little pots. 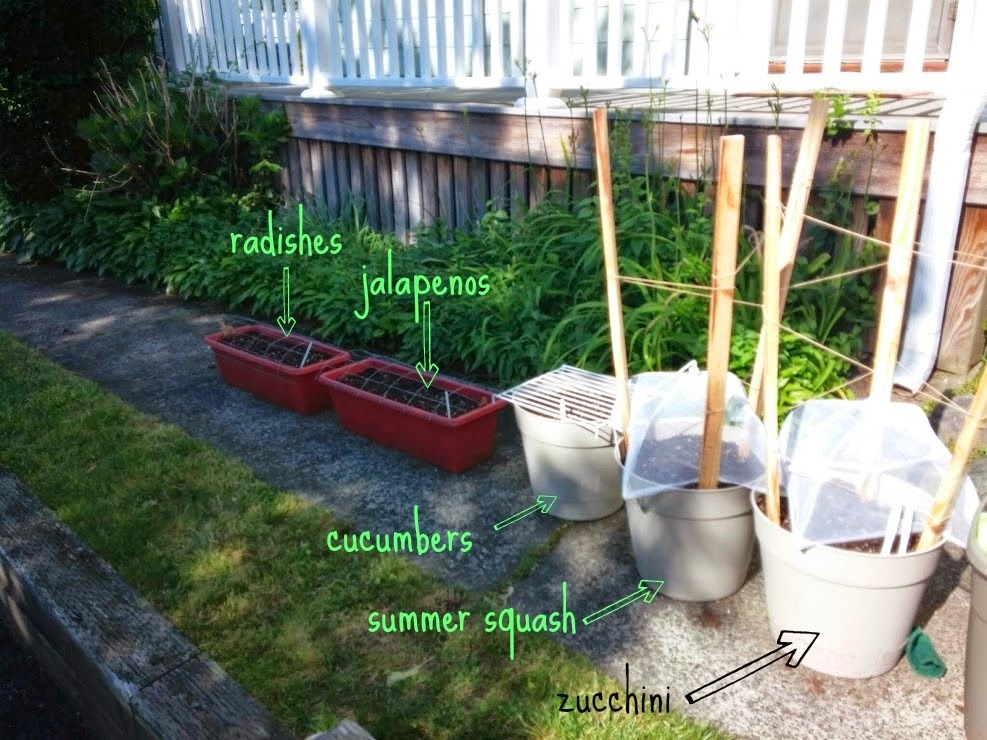
Here are the ones that I just planted earlier this week. I could have started most of these inside, like the others, but I just didn't have enough room under the grow lights. I will be asking for more lights for Christmas this year so I can start these all earlier in the season. Rob is very excited for the radishes - they should be ready to eat in 3-4 weeks. I'm looking forward to the cucumbers - they are called "Boston Picklers" - we can make homemade dill pickles this fall! 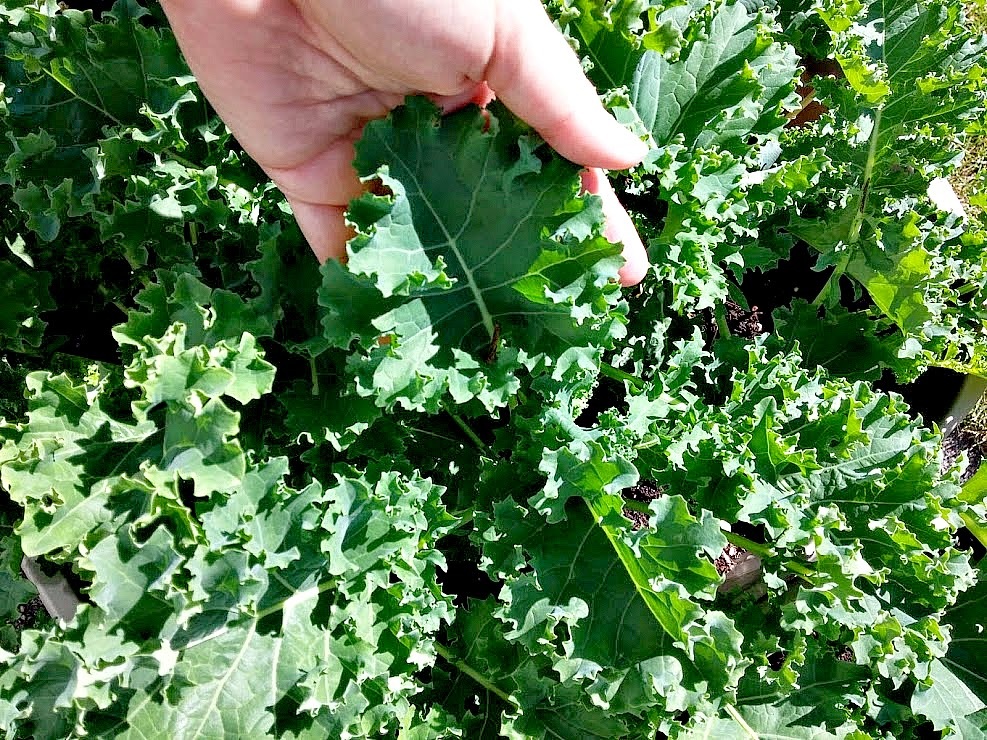
Beautiful Kale. The only thing I had success with last year was a mixed variety of lettuce. Most gardening resources suggest that new gardeners start out by growing herbs and leafy greens because they are relatively easy. After much consideration, I decided to ditch the lettuce this year (which takes up a lot of room, and can't tolerate heat) and replace it with Kale and Swiss Chard. These two varieties are much more heat and cold resistant, so I should be able to grow multiple crops throughout the summer and fall. Also, lettuce was really only good for salad, while Kale/Chard can be used in salads, soups, sautes, pasta dishes... 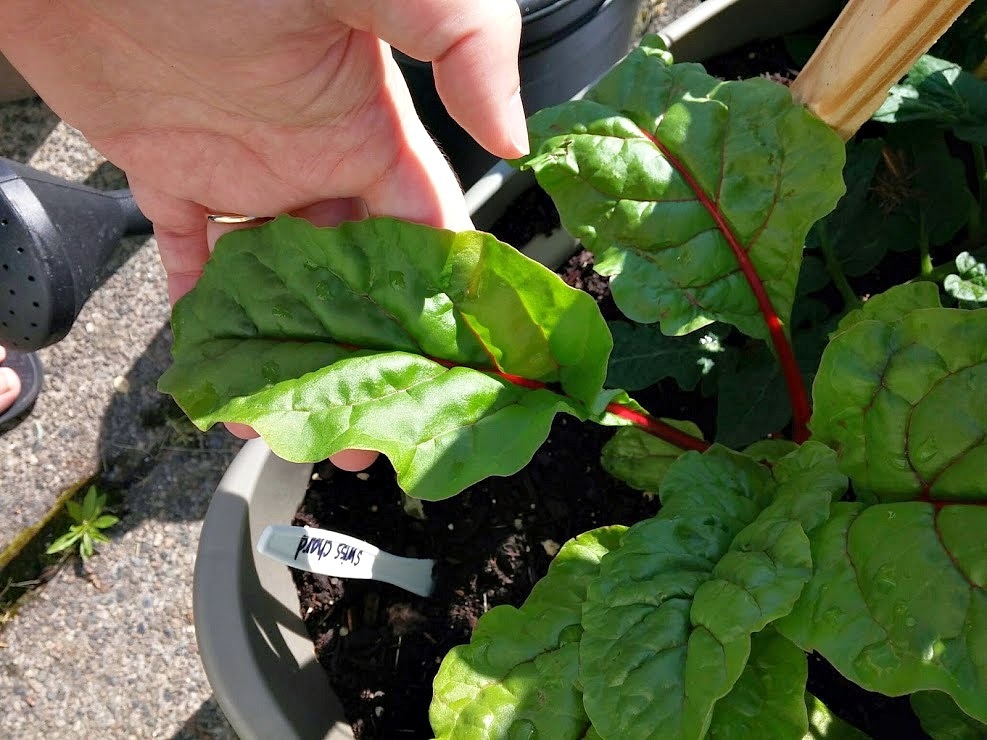
I was very worried about my Swiss chard babies a few weeks ago. Although the other plants did great inside with the grow lights, these guys always looked flimsy and hungry for more light and space. I didn't think they'd survive the transplant. As you can see, they are taking very well to being outside, and are getting big and strong. Look at those red stems! They are the only color in the garden right now besides green. 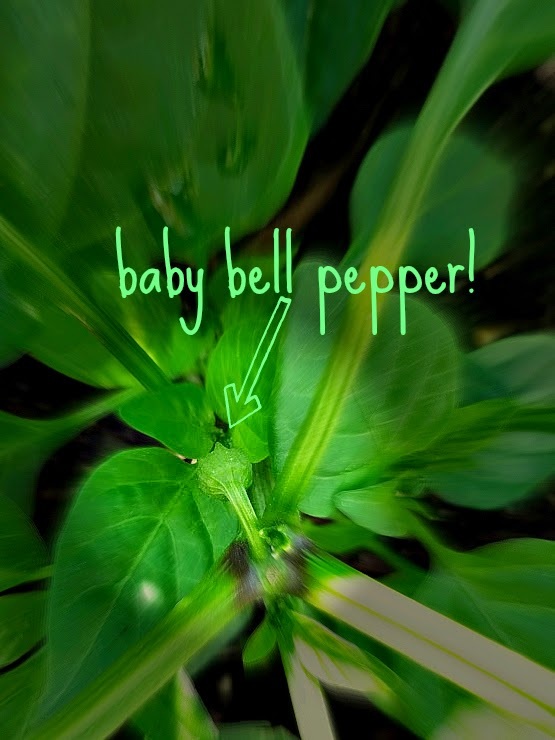
Baby bell pepper spotted! There were a couple of these on the biggest of the pepper plants. If all goes well, we should be swimming in peppers before we know it!
How's your 2014 Garden Adventure going?
3 Comments
POSTED BY: Stefanie LaSalle "...users can take photos, record videos, add text and drawings, and send them to a controlled list of recipients. These sent photographs and videos are known as "Snaps". Users set a time limit for how long recipients can view their Snaps (as of April 2014, the range is from 1 to 10 seconds),[6] after which they will be hidden from the recipient's device and deleted from Snapchat's servers. Snapchat's popular and distinguishing feature is that the pictures that you send are temporary. Why would that capability be popular among teens ages 13 to 23? Hmmm... Well everyone soon figured out that you can just screenshot the Snaps and keep a copy of them forever, which might not be great news for some users. However, if you have a friend like Meaghan, you might be glad that the Snaps you receive aren't lost forever.  Meaghan's current job has her working overnights, and sometimes she gets very tired. To stay awake, she often sends me crazy Snaps. They started out simple, like the one above. Then things started to get pretty SERIOUS. Take a look at a sample of some of my favorite Snaps, all created by Meaghan (and used with her permission). Enjoy! Nintendo.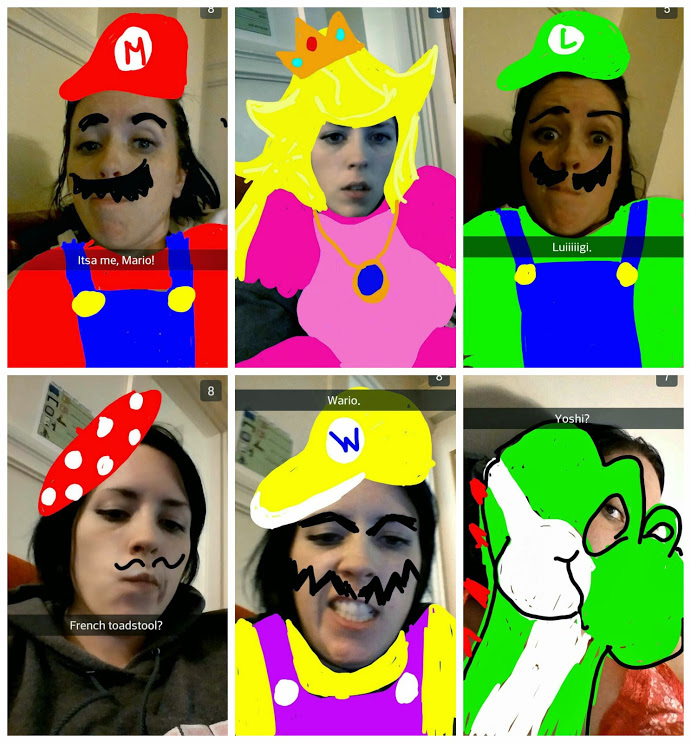 Batman Villains. Old School. Miscellaneous. Pure Terror. It hasn't always been a joy opening her Snaps when I wake up in the morning, because sometimes they're just plain disturbing, like this clown. But, it's worth the risk for all the cool ones that I get to see!!!
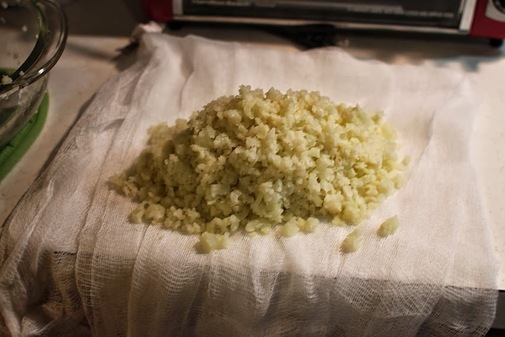
Keep 'em coming, Meaghan! POSTED BY: Stefanie LaSalle We try to use up what we have in our fridge and pantry before going grocery shopping. We hate wasting food. Forcing ourselves to use what we have on hand has made us pretty creative in the kitchen. Being lazy also makes us creative. HUNGRY + LAZY = CAULIFLOWER QUESADILLAS 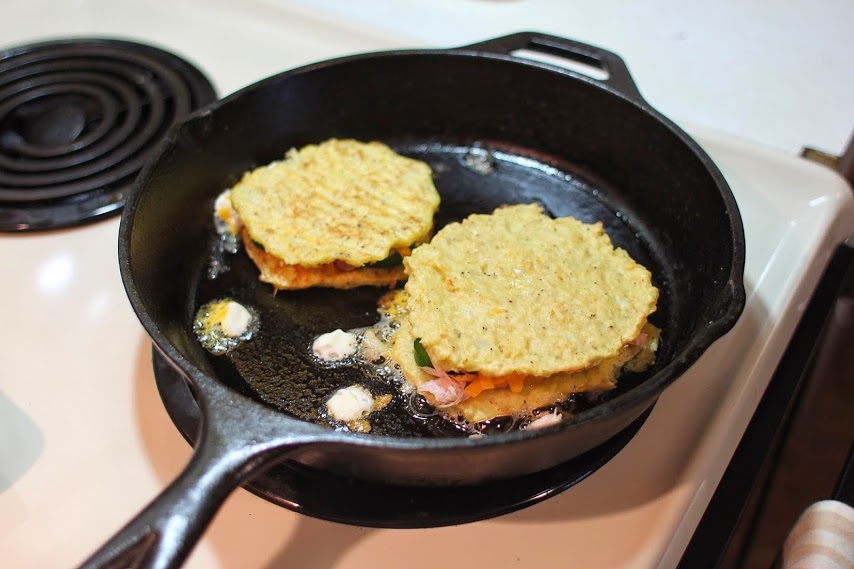 You're probably saying "Cauliflower WHAAAAAAA-...?" Tortillas?! Quesadillas?! WTF? I saw this recipe over at the website Slim Palate. 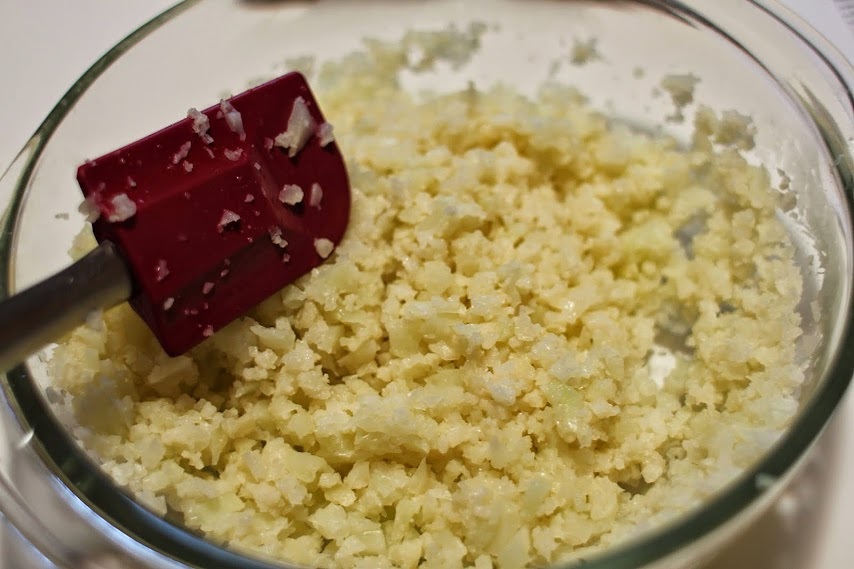 All the recipes I found online called for fresh cauliflower, but all I had was a bag of frozen cauliflower in the freezer. I was afraid that it might get mushy, but it actually worked out pretty well. Empty the frozen florets into a microwave safe bowl and heat for about two minutes, just to defrost them a bit. Then use a FOOD PROCESSOR (we have one now, thanks to Matt and Krista!) and pulse it until it looks like the picture above. Once it's all nice and "riced", heat in the microwave for two minutes, stir, and back into the microwave for a final two minutes.
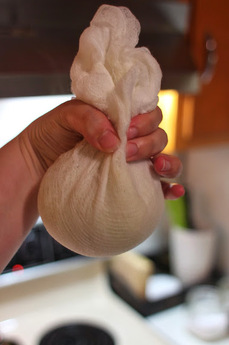
Time to SQUEEZE. You want put the cauliflower onto a cheesecloth or thin dishtowel, and squeeze out as much water as possible. NOTE: the cauliflower is HOT. Use a tool or dish washing gloves to protect your hands. 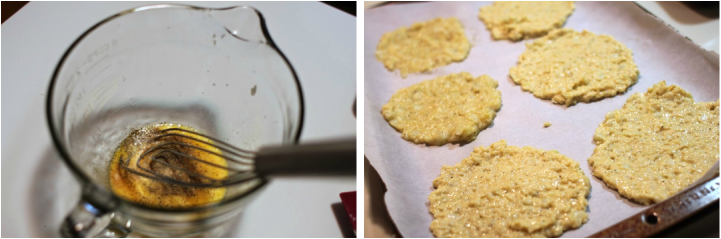 Mix together 2 eggs, salt, pepper, a splash of lime juice and the cauliflower. Now you can use a spoon or scoop and make circles of the mixture on a baking sheet. I felt the batter was a little thin, so as an experiment, I scooped two tortillas onto the sheet, then added about 1/4 cup all-purpose flour to the remaining batter to thicken it a bit. If your intention is to go gluten-free, then don't be spooked by the thin batter - it will set when baked. This will make 6 mini tortillas. 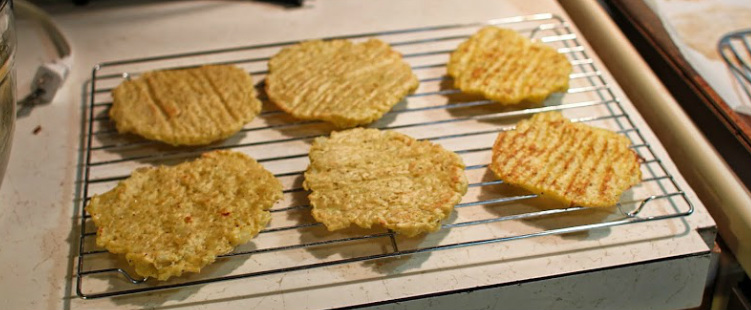 Bake the tortillas in a 375 degree oven for 10 minutes. Then carefully flip all the tortillas and bake for another 5-7 minutes until set and golden brown. Move them to a cooling rack. 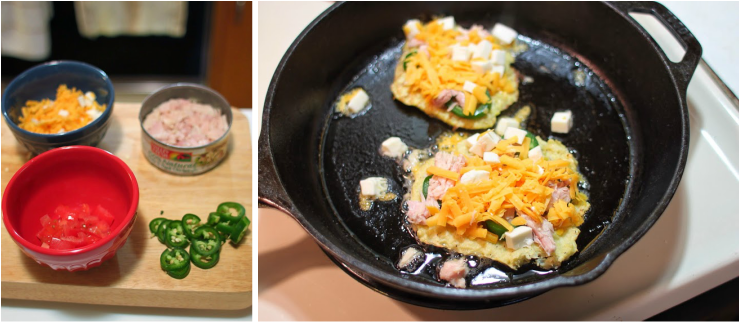 I have a whole bag of jalapenos in the fridge that I'm trying to use up, which is what gave me the idea for quesadillas in the first place. I also had a bit of leftover cheese (cheddar and mozzarella), and quarter of a tomato. I completely forgot to defrost a meat from the freezer this morning, so I opened a can of chicken (in water) and used about a quarter of the can (for two quesadillas). Can you hear the mozzarella cubes sizzling? Once you put all the fillin's, top it off with another "tortilla". When it's crispy, flip and wait for it all to melt together. Which one is better - flour or flour-less?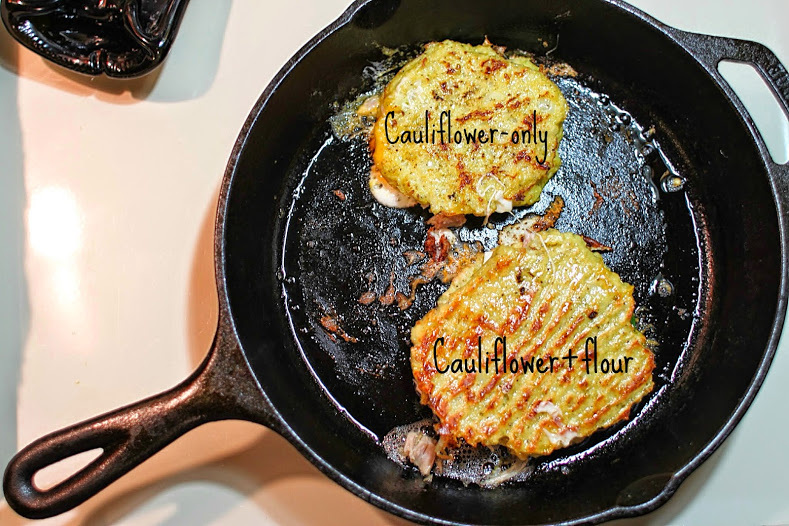 I was pleasantly surprised with how well these turned out. I've been seeing lots of creative cauliflower recipes online lately - everything from pizza crust to rice - but I was skeptical how they would hold together.
I preferred the tortillas with the added flour. They were more substantial and soft and tortilla-like. However, if you are gluten-free, the flour-less version was good as well. It was more egg-y, and tasted like an omelet. If I were to make it flour-less again, I would use more cauliflower to thicken the batter. Or maybe this is where the freshness of the cauliflower makes a difference. The whole process took a lot less time then I thought it would. Ricing and squeezing cauliflower sounds involved, but it really didn't take me any longer to make this meal than it usually takes. Happy Friday everyone!!! |


|